Categorizing portlets

Classifying portlets by categories makes it easier for page creators to find the portlets they need. For example, if you're the portal administrator, you might create a category called Accessories that includes portlets like a calendar, a calculator, and other handy functions.

Using categories, you can bring together portlets irrespective of provider, thereby creating more logical groupings of portlets--groupings based on content, or perhaps on intended audience.

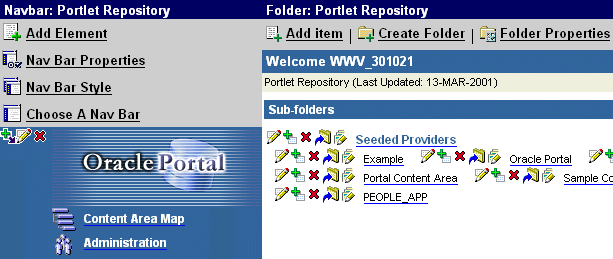
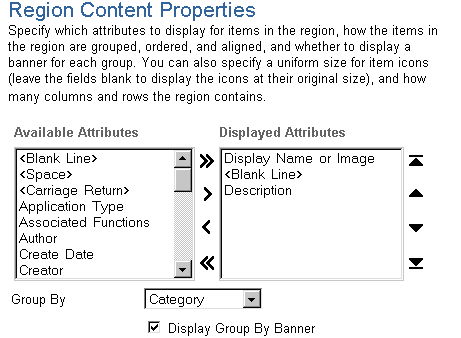
When a user clicks a provider's subfolder to display the associated portlets, the portlets are grouped by the categories to which they've been assigned. Like all folders, each provider's subfolder is controlled by the applied folder style. The default folder style, called Portlet Repository, assigns all portlets to the General category if you do not assign another category.

Note

Before categorizing portlets, it is important to understand how the portlet repository works.

You must be a portal administrator to categorize portlets.

To categorize your portlets:

  1. Create categories in the Portlet Repository content area just as you would for any other content area. Be sure you choose categories that are broad enough to include all available portlets. Remember that each portlet can belong to one and only one category.

  2. When you have created your categories, click Close to return to the Navigator.

  3. In the Path, click Content Areas.

  4. In the Name column, click Portlet Repository.

    The portlet repository, which is actually just the root folder of the Portlet Repository content area, is displayed.

  5. In the top right of the screen, click Edit folder.

  6. Your screen should look something like this:

    Portlet Repository

  7. Click the subfolder containing the portlets you want to categorize.

  8. Next to the first portlet you want to categorize, click Edit.

    The Item Manager is displayed.

  9. In the Primary Item Attributes section, choose a different category for the portlet from the Category list.

  10. Click OK.

  11. Repeat steps 7-10 until you have categorized all the portlets you want.

Note:

  • If your portlets are not appearing beneath their associated portlet banners, check the folder style for the provider's subfolder. Select the Folder Layout tab, then click the radio button corresponding to where the portlets are placed (by default, Regular Items). Ensure that the Group By field says Category, and that the Display Group By Banner check box is selected, as shown:

    Region Content Properties

Related topics

What is a category?
Adding a remote node

What is a remote node?
Effecting portlet-level security