-
In the Oracle Portal Navigator, navigate to
the list of schemas.
 The
Name
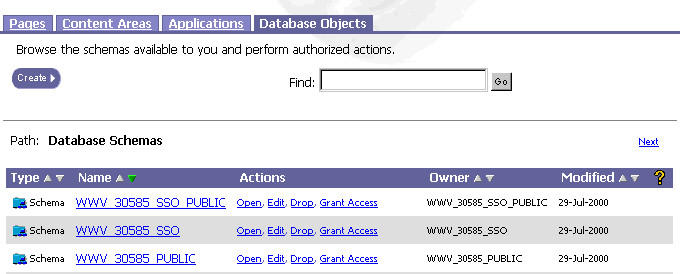
column on the Database Objects tab contains a list of all schemas in
the database on which you have View access privileges. In the Name
column, scroll down to the schema you want to edit.
The
Name
column on the Database Objects tab contains a list of all schemas in
the database on which you have View access privileges. In the Name
column, scroll down to the schema you want to edit.
Note To find a schema, you
can also enter the name of the schema in the Find
field at the top of the page and click Go.

-
The actions you can perform on the schema display in the Actions
column next to each schema.

-
Click Edit. The
Edit a Schema page displays.

-
In the Password field, you
can enter a new password for logging into the schema.
-
In the Confirm Password
field, enter the password again.
-
You can choose a new
Default Tablespace. The default tablespace will be used to
store any database objects or components created in the schema.
-
You can choose a new Temporary Tablespace.
The temporary tablespace will be used for creation of temporary
storage for operations such as sorting table rows.
-
You can choose a new Oracle Profile.
A profile is used to limit the amount of system and database
resources that are available to the schema.
-
You can select the Application Schema
check box to enable developers with appropriate application access
privileges to create components in the schema.
-
You can select the Use this Schema
for Oracle Portal Users check box to to add the schema to the
list of database schemas that Oracle Portal portal users can map to.
Every Oracle Portal user must be associated with a database schema.
By default, the name of this schema is is <portal>_public,
where portal is the name or
the schema in which Oracle Portal is installed. If you select the Use
this Schema for Portal Users check box, a Portal user can be
mapped instead to the schema you are currently creating.
-
Click Apply if
you are done with the current tab and want to continue editing
options on other tabs.
-
Click OK if you
are finished editing all options for the schema.

